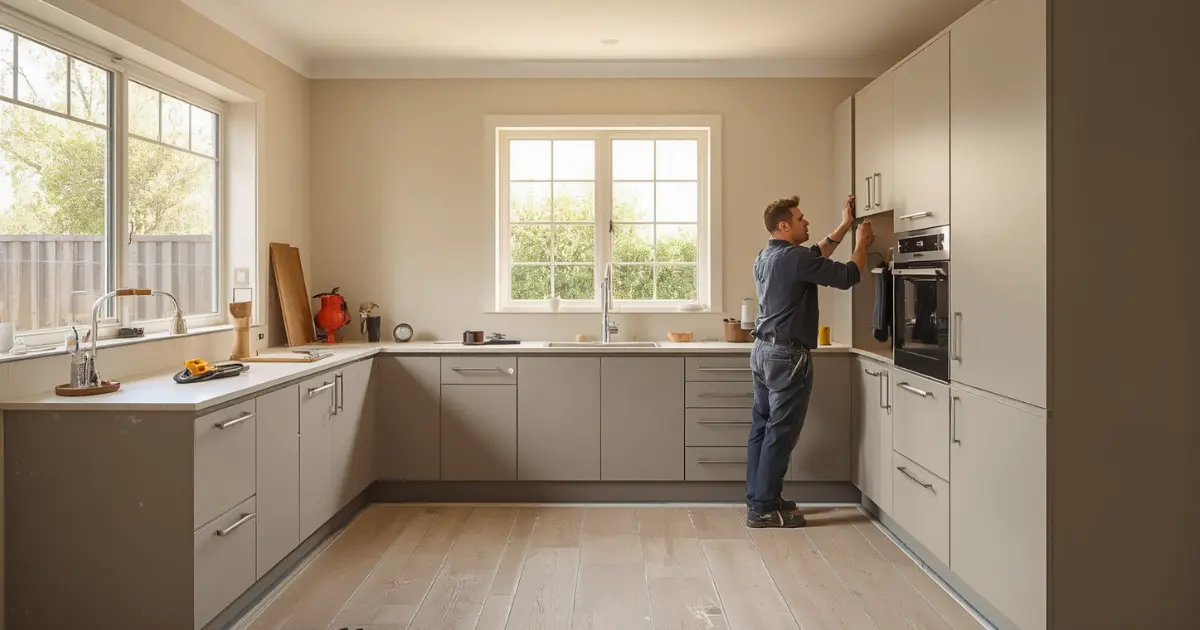
A professional kitchen installation in Perth typically takes 7–14 days for a standard same-layout replacement, covering removal, first-fix plumbing and electrics, cabinet fitting, worktops, flooring, and final snagging. Knowing each stage in advance and preparing your home properly makes the whole process smoother and far less stressful.
Getting a brand-new kitchen fitted is one of the most exciting home upgrades you can make. New doors, fresh worktops, better storage- it genuinely transforms how your home feels every single day. But if you’ve never been through a Kitchen Installation in Perth before, the process can feel a little daunting. What actually happens on Day 1? How long will your kitchen be out of action? What should you check before the team packs up and leaves?
This guide walks you through the whole thing, from that first morning when the old units come out to the final handover walkthrough. By the end, you’ll know exactly what to expect and how to set your project up for success.
What Does a Professional Kitchen Installation in Perth Actually Involve?
A professional kitchen installation covers far more than simply swapping out cabinets. It’s a coordinated sequence of trades, each working in the right order so nothing gets damaged and everything meets the required standard.
At VisionPD, the process is designed and supply and installation, handled by one experienced team with over 20 years in the industry. That single-team approach removes a lot of the coordination headaches homeowners face when managing multiple tradespeople independently.
The full scope of a typical installation includes:
- Removal and disposal of your old kitchen
- First fix plumbing and electrics (new sockets, appliance feeds, waste and supply line adjustments)
- Cabinet fitting, base units, wall units, and any tall units
- Worktop installation
- Appliance connections, oven, hob, extractor, dishwasher, fridge
- Flooring, kickboards, and finishing trims
- Final snagging and handover
If you’re also exploring your options before committing, a visit to the Kitchen Showroom in Perth is a great place to see the ranges in person and get a feel for what suits your home.
A Day-by-Day Look at a Typical Kitchen Installation Week
Here’s a realistic breakdown of how most kitchen installations in Perth unfold. Timelines can vary based on kitchen size, complexity, and worktop materials, but this gives you a solid picture of the general sequence.
Day 1, Removal and inspection
The old kitchen comes out. Units, worktops, and appliances are stripped and disposed of. Once everything is cleared, the team can assess the walls, flooring, and any plumbing or electrical runs that may need attention before work continues.
Days 2–3, First fix plumbing and electrics
This is the behind-the-scenes stage, the work that makes everything function. New socket positions, appliance feeds, and waste and supply line adjustments are all handled here. Any electrical work must meet Part P certification requirements, so this stage is non-negotiable in terms of quality and compliance.
Days 4–6, Cabinet fitting
Base units go in first, carefully levelled and secured. Wall units follow. This is where your new Kitchen Design in Perth starts to take its final shape, and honestly, it’s the stage where it really starts to feel real!
Day 7+, Worktops, sink, hob, and extractor
Worktop fitting depends on the material you’ve chosen. Laminate worktops can often be cut and fitted on the same day. Stone or composite worktops, quartz and granite, usually require templating after the cabinets are in, then a separate supplier installation visit. This can add up to 7–10 days if your supplier has a backlog, so it’s worth factoring this in early.
Day 10+, Flooring, kickboards, and finishing details
Tiles, laminate, or vinyl flooring goes in at this stage. Tiling takes longer due to drying time. Kickboards and trims are fitted, and the space starts to look complete.
Final days, Snagging, and handover
A thorough walkthrough to check that everything works, aligns, and looks exactly as it should. More on this below.
How to Prepare Your Home Before Your Kitchen Fitters Arrive
A little preparation goes a long way. Before your Kitchen fitters in Perth arrive on Day 1, here’s what’s worth doing:
- Clear the kitchen completely. Remove everything from your cupboards, drawers, and countertops. The team shouldn’t be working around your belongings.
- Check your delivery list carefully. Missing end panels, wrong cabinet sizes, or unavailable appliances are among the most common causes of delays. Go through every item before installation day.
- Set up a temporary kitchen. Identify a space, a utility room, dining room, or spare room, where you can set up a microwave, kettle, and mini fridge for the duration of the project.
- Protect adjacent areas. Dust and debris will travel further than you expect. Move soft furnishings, rugs, and anything fragile from rooms that connect to the kitchen.
- Confirm access. Make sure the team has clear access from the front door to the kitchen, and that any parking requirements are sorted.
Managing Disruption During Kitchen Installation
Let’s be honest, having your kitchen out of action for up to two weeks is genuinely disruptive. But with a bit of planning, it’s very manageable.
For cooking: slow cookers, air fryers, and microwaves become your best friends. Batch-cooking meals the week before installation begins means you’ll have ready-to-heat options throughout the project. Paper plates and disposable cups reduce the washing-up burden too, no judgement here!
For kids: Keep the installation area off-limits, especially during the removal phase. Dust and exposed fixings are a real hazard. A good rule of thumb: if the fitters are in there, the kids aren’t.
For pets: Dogs and cats are naturally curious about activity and strangers. Keep pets in a separate room or consider alternative arrangements on the busiest days; Day 1 removal and Day 4–6 cabinet fitting tend to be the noisiest and most active.
Whether you’re going for a clean, handleless finish or a more traditional shaker style, exploring Bespoke Kitchens in Perth or Luxury Kitchens in Perth options ahead of time means every disrupted day is working toward exactly the result you had in mind.
Snagging and Handover: What Should You Check?
The snagging walkthrough is your chance to review every detail before signing off. Don’t rush it! Here’s what to look for:
- Doors and drawers: Open and close every one. They should all align correctly and operate smoothly with no catching.
- Worktops: Check for any chips, scratches, or uneven joins at the seams.
- Appliances: Test every appliance, hob, oven, extractor, dishwasher, fridge. Confirm cold and hot water at the sink.
- Sockets and lighting: Test every socket and switch in the kitchen.
- Flooring: Walk the full floor and check for any lifting edges, uneven tiles, or gaps at the kickboards.
- Walls and paintwork: Review any freshly plastered or painted areas.
- Silicone seals: Check the joins between worktops, sinks, and walls. Seals should be neat and continuous.
If anything needs attention, note it clearly and confirm in writing before your fitters leave the site. A reputable installation company will resolve snagging items promptly; that’s part of what you’re paying for.
Ready to Start Your New Kitchen in Perth?
A well-planned kitchen installation doesn’t need to be stressful. When you understand what’s happening at each stage, and you’ve chosen a team that handles design, supply, and installation under one roof, the whole project runs smoothly.
VisionPD offers a full range of beautifully designed kitchen options, from the sleek Venezia Gloss J Pull Handleless through to the timeless Lucca Matt Slab, all available in an extensive selection of colours including Cashmere Stone, Dove Grey, Charcoal, and 28 paint-to-order options.
If you’re ready to explore what’s possible for your home, browse the full Kitchen in Perth range or book your home visit survey to get started.
Frequently Asked Questions About Kitchen Installation in Perth
How long does a kitchen installation in Perth take?
Most standard kitchen installations in Perth take between 7 and 14 days, covering removal, plumbing and electrical first fix, cabinet fitting, worktops, flooring, and final snagging. More complex projects involving layout changes or structural work can take 2–4 weeks.
Do I need to move out during a kitchen installation?
No, most homeowners stay in their home throughout. Setting up a temporary kitchen space with a microwave, kettle, and mini fridge covers your basic needs during the project.
What causes kitchen installation delays, and how can I avoid them?
The most common causes are late or incorrect deliveries, stone worktops requiring templating (which can add 7–10 days), hidden wall or floor issues uncovered during removal, and electrical upgrades. Checking your delivery list thoroughly before Day 1 and choosing your worktop material early help reduce these risks significantly.
What should I check during the kitchen snagging walkthrough?
Test every door, drawer, appliance, socket, and tap. Check worktop joins for chips or gaps, inspect flooring for lifting edges, review silicone seals, and look at any painted or plastered surfaces. Note any issues in writing before the team leaves.
Does VisionPD handle the full kitchen installation process in Perth?
Yes. VisionPD designs, supplies, and installs kitchens in Perth, managing the entire project from initial design through to final handover, with no hidden costs and over 20 years of experience.
Does a kitchen installation in Perth require building regulations approval?
Not always. Like-for-like replacements with no electrical changes rarely require formal approval. However, if new circuits, sockets, or appliance feeds are being added, Part P electrical certification is required. Your installation team should confirm this as part of the pre-project planning.